The Audience Designer workspace is the canvas upon which you can design your audiences.
The Audience Designer can only ever display a single audience.
The type of audience (SQL vs. NoSQL) is shown to the top right of the workspace:

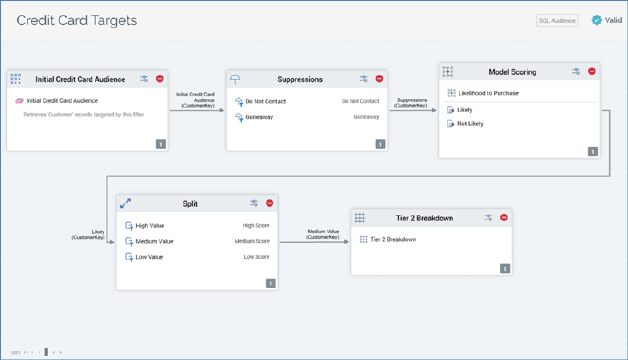
The workspace is used to display the rules that make up an audience. These rules are represented within the workspace as blocks and connections between blocks. When blocks are moved or resized within the workspace their positions and sizes are snapped to an invisible grid.
A block can be added to the workspace by dragging from the Audience Blocks section in the toolbox.
Blocks are used to restrict records retrieved when an audience instance runs. By default, all records within the table defined by an audience’s resolution level (itself defined by the audience’s audience definition) will be retrieved when an audience instance is executed. Adding blocks to an audience , and connecting those blocks, refines the set of data from the resolution table that will ultimately be retrieved when an instance based upon the audience runs.
All blocks display the following buttons:

•Configure: clicking this button allows you to configure the block in the Audience Block Builder.
•Remove: clicking this button removes the block from the audience, without display of an ‘Are You Sure?’ message.
You can select a block in the workspace by clicking upon it. When you highlight a block, it is surrounded by a dashed highlight indicator.
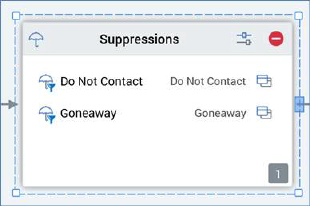
A connection point is shown to the right-hand side of the block as a blue rectangle.

Four resize points are displayed.
You can select more than one block concurrently by holding down the Ctrl key and clicking several blocks in turn.

You can also select multiple blocks by clicking and dragging a ‘rubberband’.
A block must be completely included within the rubberband to be selected.
If a block is not selected, neither the selected indicator nor the connection point are displayed.
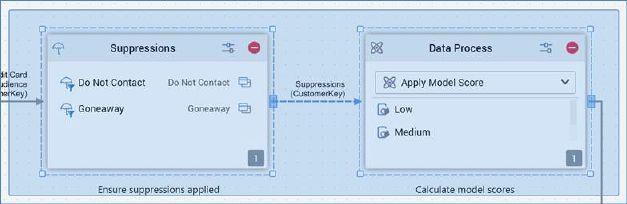
Blocks can be dragged around the workspace. Any connections from or to a block that is moved are also moved appropriately. If multiple blocks are selected, they all move simultaneously.
You can resize a block in the workspace. Note that a block is constrained to a minimum and a maximum size. If multiple blocks are selected, all are resized simultaneously.
You can zoom the workspace using the slider control displayed to the bottom left.
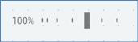
The workspace can be zoomed from 25% to 150% of its standard display size. Note that you can also use Ctrl-mouse wheel to zoom the designer workspace.
By default, a maximum number of 30 blocks are displayable in workspace concurrently (note that this value may be configured via system configuration setting MaxBlocksDisplayedPerWorkspace). If, by adding a block to the workspace, the maximum number of blocks is exceeded, a warning message is displayed and you are unable to add the block.
The name of the output from the preceding block that is serving as the current block’s input is displayed above its incoming connector.

In addition, the preceding block’s deduplication level is shown in parentheses below the name of the output.
When you highlight one or more blocks, you can copy them by right-clicking to display a context menu, then selecting Copy. When you do so, an advisory message (‘Selected block(s) copied to clipboard’) is shown.
Once blocks have been copied to the clipboard, you can Paste them in the current audience’s workspace, also by using a context menu option. The newly-pasted blocks’ names are the same as the blocks from which they were copied, with an integer appended to ensure uniqueness. Any connections between blocks are also pasted (even if not copied explicitly).
You can also paste copied blocks into another Audience Designer instance.